Intarsia & Stained Glass
    This Intarsia/glass art was developed in the summer of 1999 by  Jeff Meuwissen, a stained glass artist for 12 years. He began experimenting with Intarsia and combining it with stained glass. After a few attempts at various techniques, he refined the procedures which he describes below.
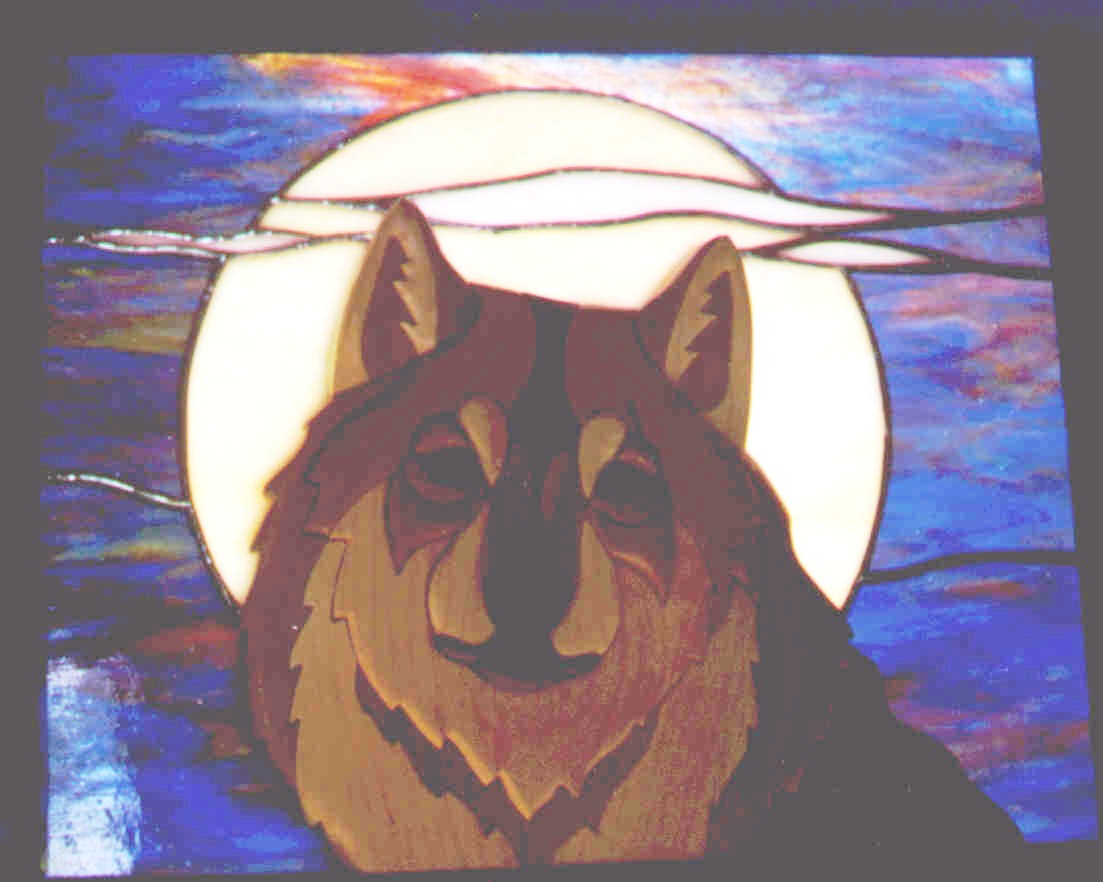
  The art of Intarsia and the art of stained glass share certain basic characteristics which make them compatible with each other. Their use of small multicolored pieces to create a picture is similar. Background items such as sky, clouds, sun, moon, hills, and water features provide an excellent opportunity to incorporate color into your art.


Intarsia and stained glass can be combined to create truly beautiful art work designed to be displayed as windows, window hangings, or traditional wall hangings.
    The Intarsia pattern is laid out on paper large enough to encompass the full size of the finished art. Draw the outline of the finished Intarsia/glass piece on the pattern paper. If the piece will be framed, this should be the final shape of the piece as it will be fit into the frame. Lay out a separate Intarsia pattern on top of the Intarsia/glass pattern and position it so that it fits within the final pattern to balance its location within the final picture. Depending on your Intarsia, this may be centered, extend from one side or corner, or project into the frame and incorporate the frame integrally into the piece. When the Intarsia pattern is located as you desire, tape it at two locations to the Intarsia/glass pattern. Place carbon paper under the Intarsia pattern and trace the outline of the pattern. It is not necessary to trace the interior portions of the Intarsia pattern since this step is done to begin to determine the shape of the backing board. Alternatively, a finished Intarsia can be used since you are looking for an accurate outline of the piece.
    Intarsia/glass window hangings incorporate the use of a backing board that is used to provide support for the wood figure and the incorporated glass. The backing also prevents light from shining through gaps between the wood pieces. I have found 3/16" lauan to be an acceptable material. Plywood material that is 1/4" thick tends to be too bulky and does not look good from the back since it is thicker than the glass.
    Remove the Intarsia pattern. The backing board should be approximately 1/4" smaller on all sides than the Intarsia pattern. This will allow overlap of the Intarsia onto the glass and provide space for attaching the glass and Intarsia. Sketch a line about 1/4" inside the Intarsia outline with a pencil to form a rough outline of the backing board.


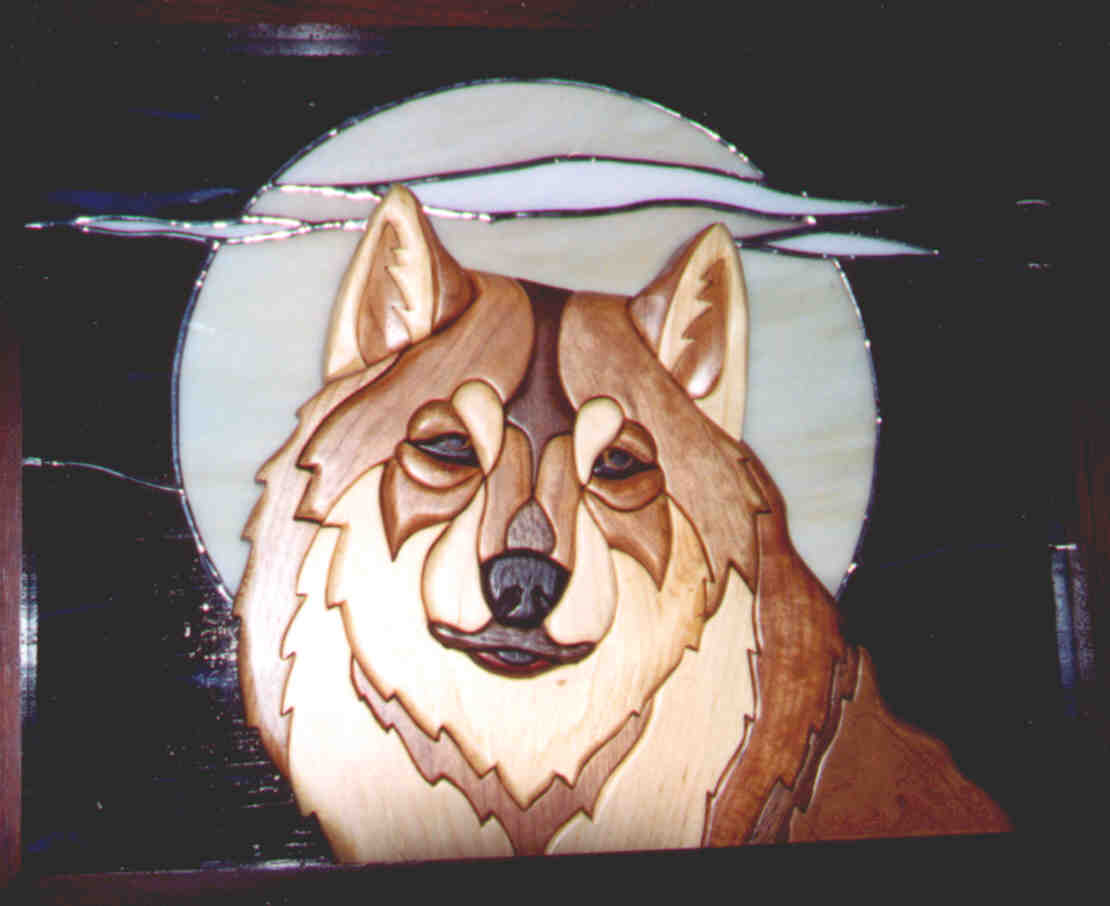
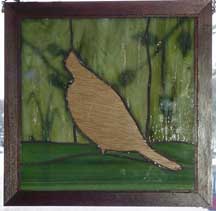
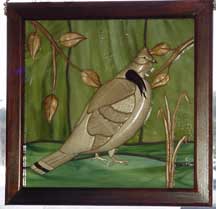
Narrow extensions of the Intarsia pattern such as branches, stems, legs, etc. are left off the backing board outline unless they can be incorporated to leave at least 1/2" of backing board width. Narrow Intarsia extensions are glued to the glass when the glass and backing board are fitted together. Note the shadows in the picture at right.
    Once the backing board outline is acceptable, use a fine point marker to draw the final cutting pattern.
    You are now ready to begin creating the glass pattern. To allow room for the backing board to fit inside the opening in the glass and allow the Intarsia to overlap the glass from the front of the piece, the glass should extend to approximately 1/8" short of the backing board. Sketch a pencil line about 1/8" outside the backing board cutting line. Use a fine point marker to draw the final glass pattern edge.
    Your glass pattern can now be drawn. When creating the glass pattern keep in mind that sharp interior corners cannot be cut with traditional glass cutting methods. Points on the Intarsia figure must extend into seams in the glass pattern. Lay out the glass pattern with a pencil to create your background as you desire. Check to see that the pattern has not created impossible cuts and that the features flow in a natural manner. Adjust the pattern as necessary. Outline the pattern lines with your marker. Use carbon paper to trace the glass pattern onto another cartoon that will be cut up for your glass cutting pattern pieces.
    In order to prevent the glass background from overwhelming the piece, it is recommended that the copper foil Tiffany style of glass work be used instead of the lead came style. This creates finer lines in the glass and allows for more control of patina and polish on the lead. Leaded lines can be treated with different colors of patina to accent or diminish various features. Where the glass comes in contact with portions of the Intarsia the lead lines should not be beaded so the glass and Intarsia can be in close contact.
    After the stained glass is assembled and finished, cut out the backing board and make sure it fits into the opening in the glass. There should be a gap approximately 1/16" between the board and the glass. Carefully line up the Intarsia and the backing board to make sure the Intarsia fully overlaps the glass and then glue the Intarsia to the backing board.
 
The Intarsia is then glued into the glass opening. Small portions of the Intarsia that do not have backboards as mentioned above should be glued directly to the glass during this step. Avoid squeeze out when gluing to the front of the glass since this can be difficult to remove when dry.
   Make sure that the Intarsia rests flat against the glass from the front of the piece. From the back of the piece, completely fill the gap between the edge of the backing board and the glass with glue and clamp or press into place until the glue sets. I have used epoxy, hot glue and silicon sealer glues. Hot glue has a tendency to deteriorate over time and may not be the best choice.
    Mosaic glass applied to the backboard can also create very effective backgrounds for wall hangings. In this style, a backboard for the Intarsia piece is not separately cut out. The full Intarsia outline is laid out on the paper pattern as described above for the Intarsia/glass pattern. The glass cartoon is then developed on the paper pattern and the entire pattern is traced onto the backboard. Glue the finished Intarsia to the backing board. Glass pieces are glued directly to the backboard with mosaic cement and filled in with grout. An alternative to this technique is to create the entire backing as a mosaic glass picture and glue the Intarsia to the front of the glass background.
Jeff Meuwissen
2/9/2000
JeffArt Designs
meuwissen@frontiernet.net

http://www.frontiernet.net/~meuwissen/ 

                                                                  Return to home page