Chapter 4 - Shaping
Modern intarsia has three dimensions. The third dimension, depth, is not fully
expressed. It exists but is subdued, in the manner of a relief carving. Shaping is the
process of creating this third dimension.
There are three references for shaping a project. One is instructions on the pattern.
Second is the photo supplied with the pattern – you can shape your bear to look like that
bear. Third and most important is your own innate sense of what the subject ought to look
like.
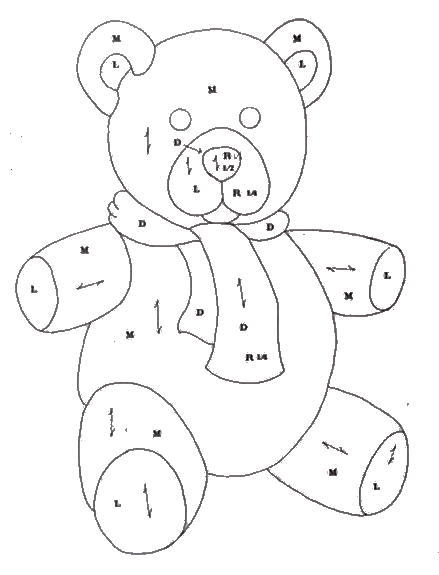
| First, look for instructions on the pattern. Notice that three parts – nose, muzzle/jaw,
and part of the scarf – are marked R. R means raise. The fraction is the
distance in inches that the back of the part is to be raised above the backboard.
Thus the scarf and muzzle/jaw are to be raised ¼", the nose ½". Parts are
raised by placing flat shims or risers behind them. The standard material is scrap
¼" luan left over from backboard cutouts.
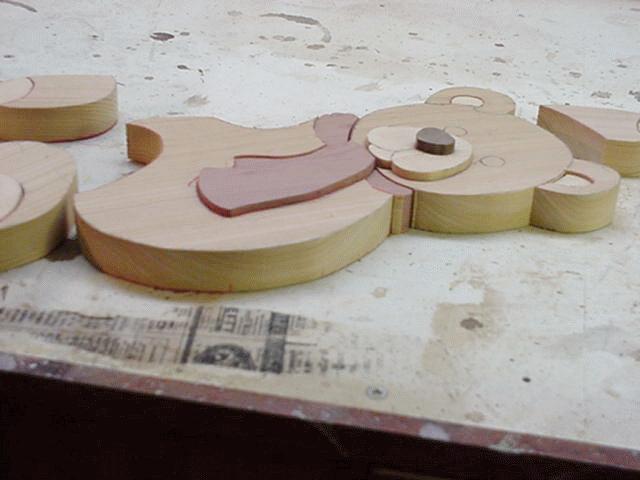
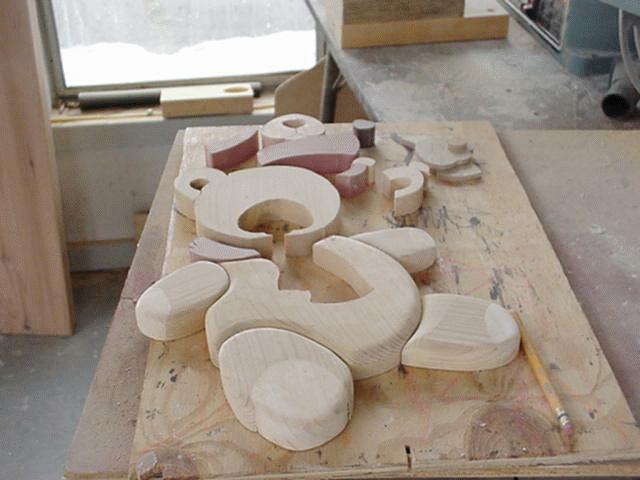
Place the three parts to be raised on scrap luan and trace lines around them. Saw the
risers slightly undersize; careful sawing is not needed. Drop the risers into the
appropriate holes and install the respective parts on top of them. Just like that, Teddy
has three dimensions. |
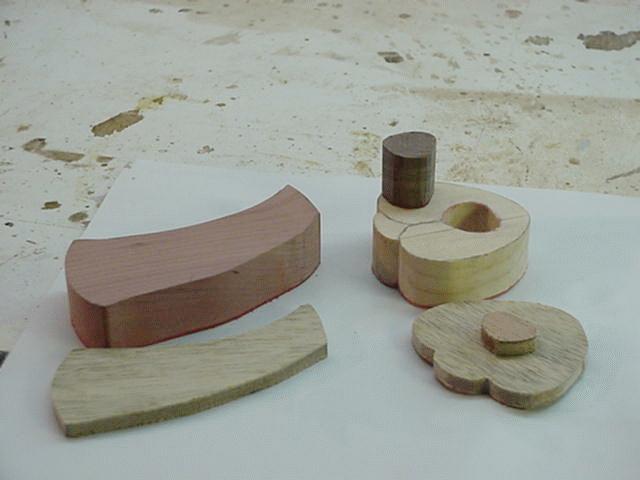
Risers and the parts they raise |
| Besides risers, some patterns include
additional shaping instructions. Usually they tell you to lower certain parts
– that is, make them thinner by sanding or planing the surface. Teddy’s pattern
is mercifully silent on the subject, so we are on our own. Do you see any parts that
ought to be made thinner? What about the inner ears? The inner ears of critters are inside
the outer ears – that is, further from the viewer. So we’ll thin those two
little pieces of pine. |
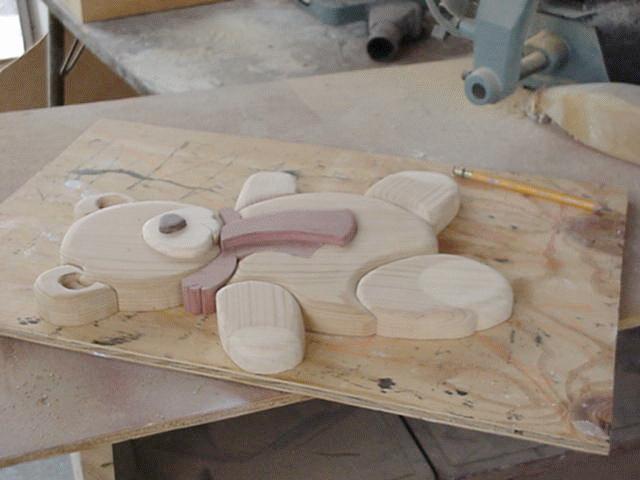
Risers give Teddy a third dimension. |
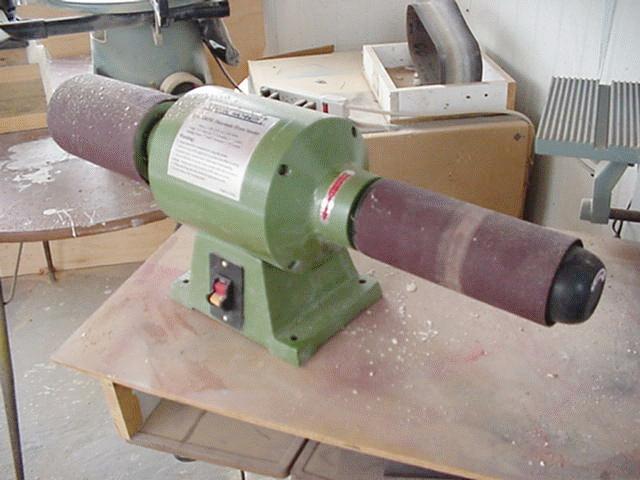
| The proper tool for thinning is a belt
sander. A portable belt sander clamped upside down to a bench will do, but a 4 X 36
benchtop sander is a far better choice. Now, before we put Teddy under the knife, here
is a very important point: Never sand the backs of intarsia parts.
Sanding may make them off-square, resulting in gaps in the finished piece. Therefore,
sanding and shaping must be restricted to the faces and upper edges of parts. At
some point in the building process it’s a good idea to mark the backs of all parts
with a highlight pen, to avoid mistakes while shaping. |
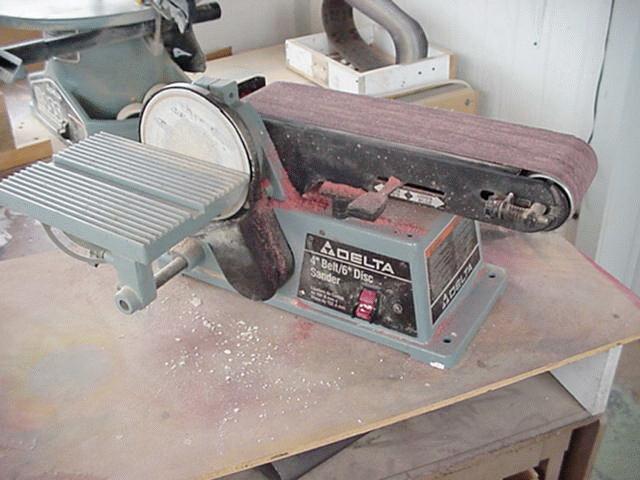
4 X 36 belt sander. |
| Back to Teddy’s ears. To mark the
depth of the cut, place a pencil on its side on a flat surface. Place Teddy’s inner
ears face down on the same surface. Rotate the inner ears against the pencil point.
The resulting line will mark a cut about 1/8" deep. To mark deeper cuts, place shims
(such as scraps of posterboard) under the pencil. Crank up the belt sander. Sand with
the grain, to the line. Done. Are the parts thin enough? If not, mark and thin them
another 1/8" - it takes only a minute.
Do you see other parts of Teddy need radical thinning? His left limbs, being farther
from the viewer, might benefit. The choice is yours. |
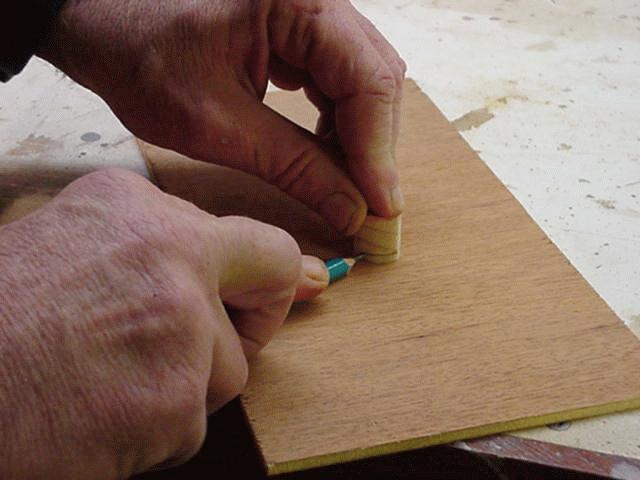
Marking Teddy's inner ears for thinning. |
| Before leaving the belt sander, it’s
a good idea to give all of Teddy’s upper flat surfaces a light sanding, to remove
scratches, pencil marks, and so on. For softwood use a 150- or 180-grit belt. For
hardwood, finish with a 220. The remainder of the shaping will be done on sanding drums.
But before we begin, the technique of unit shaping needs explanation.
Many intarsia projects have small parts which are best shaped together as a unit. An
obvious example is a raccoon’s tail – alternating segments of light and dark
wood. To shape each small part individually and get them to match up properly would take
all day -if you could do it at all. It’s much quicker and easier to shape them
together. |
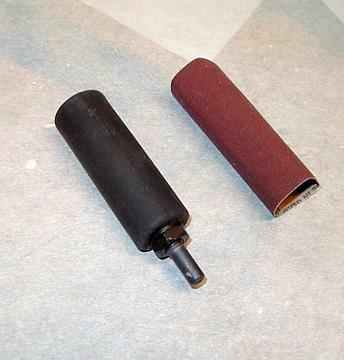
Solid rubber drums. |
I know of two ways to hold parts together. One is to use two-sided tape to stick them
to a temporary backing sawn from luan. The trouble here is that the tape either sticks too
well or not well enough.
A better method is to edge-glue the parts together. Use a sticky white craft glue that
dries quickly. A few drops per joint are enough. The drawback here is that if you want to
separate the parts later, you’ll probably have to saw them.
On Teddy, obvious candidates for unit shaping are his hands and feet. It will be easier
to shape an arm and a hand together than separately. Edge-glue Teddy’s hands and feet
in place (see photos below).
Now to shaping. For general shaping, some intarsians use nothing but mototools such as
the Dremel. Others use pin routers. Both tools have
their uses. But the primary shaping tool is a sanding drum.
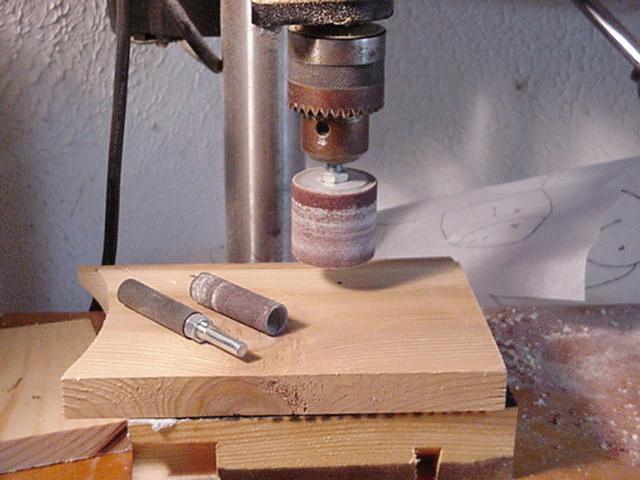
| Sanding drums come in three basic types.
The first is solid rubber drums, to be spun in a drill press. Better hardware stores stock
these drums in a variety of sizes. They cost little. The problem with solid drums is
that both drum and sleeve are hard as rocks. You can’t round over Teddy’s left
arm in single pass – the drum sands a flat chamfer. Multiple passes leave a series of
flat trails which must be sanded out by hand or with a flutterwheel. |

Flutterwheel |
| A much better choice is a soft drum such
as the Flex-Drum from Seyco Sales. About the size of paint rollers, these drums use thick
foam rubber pads between shaft and sleeve. When pressed, the padded sleeve wraps around
the corner of a part from edge grain to face grain, producing a smooth radius in a single
pass. Usually, no further sanding is needed. The third type of sanding drum has this
same wrap-around characteristic, but is inflatable. Thus you have the best of all worlds
– a drum you can make as soft or hard as you please. Inflatable drums are the choice
of professional intarsians. Unhappily, they are expensive. |
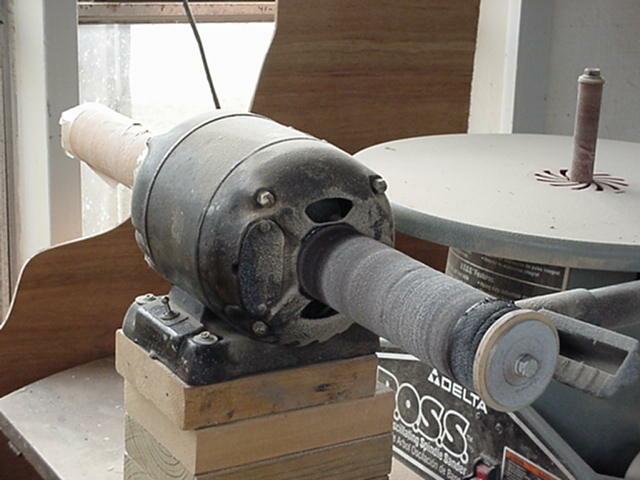
Flex drum sander |
Inflatable drum sander |
Kirjes inflatable drum |
Any or all of these tools may be used to shape Teddy. As to specific shaping
instructions - there is no such thing. Shaping is not rocket science. You have a photo of
Teddy and can conjure up another image in your mind’s eye. These images are your
references. In the end, you simply sand away everything that doesn’t look
"bearish."
The following photos illustrate what I think Teddy should look like. Your view
may differ.
Shaping: early stage. |
Shaping: late stage. |
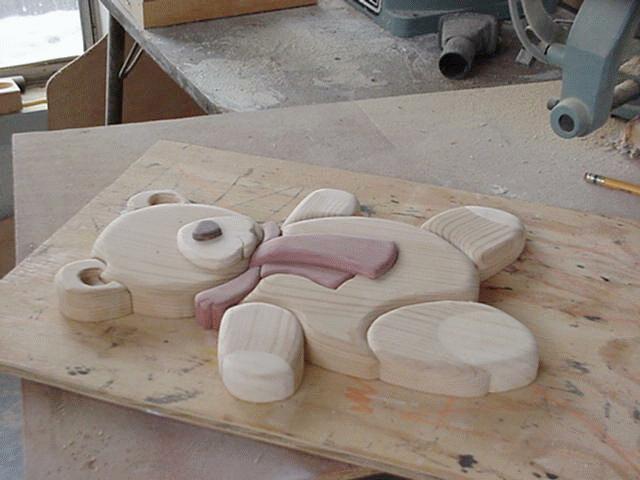
Teddy is ready for detailing. |

Go
to Chapter 5
Return
to Chapter 3
Return to home page