Chapter 5 - Detailing and Assembly

Detailing is euphemism for "sand by hand."

Hand sanding gets old fast. For this reason, intarsians are eager customers for detail sanders, contour sanders, flap sanders, flutter sanders – anything, anything at all, that promises to eliminate hand sanding. We all have our favorite tools and they all work, but never as well as we wish.

One trick to reducing hand sanding is careful use of soft drums. When the shaping is finished, switch to a fine (220) sleeve and go over the project again, using a very light touch. When Teddy goes to the workbench for his final rubdown, you’ll find that there is little rubbing to do.

Detailing means sanding out scratches, softening sharp corners or edges, and generally getting Teddy ready to finish. At this stage Teddy’s hands and feet may be removed with a fine blade in the scrollsaw, the edges of the parts rounded slightly, and the parts glued back in place. Or you can leave them as they are. For detailing softwood, use 150- or 180-grit paper. Hardwood needs 220 or higher.

Detailing also includes things we plumb forgot – such as Teddy’s eyes. The pattern calls for ½" eyes. The holes must be square to the back of the piece, so use a drill press or drill guide. A Forstner bit is preferred, as it will not tear the wood. Drill all the way through the face.

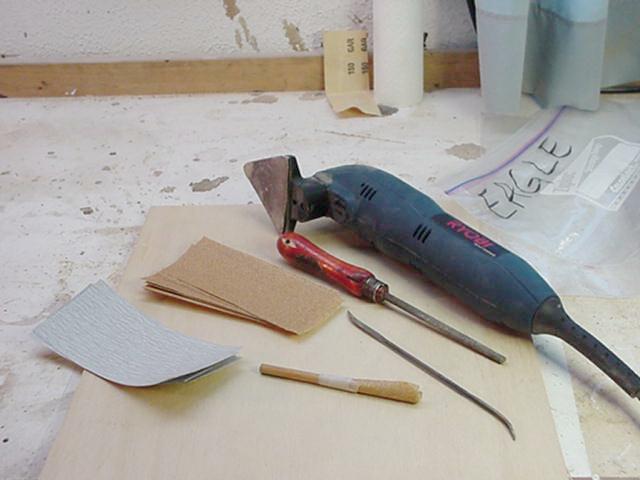
Typical detailing tools

Patterns often call for making eyes from dowels. But with dowels you can get into all sorts of picky, time-consuming problems. A better choice is to use round-top furniture buttons from a craft supply store. Sometimes, the only wood available is birch. To darken the eyes, use paint or stain or singe them with a propane torch.

When Teddy is detailed to your satisfaction, he’s ready to assemble. Use a flat surface covered with waxed paper. For now, set aside parts that use risers – we’ll install them shortly.

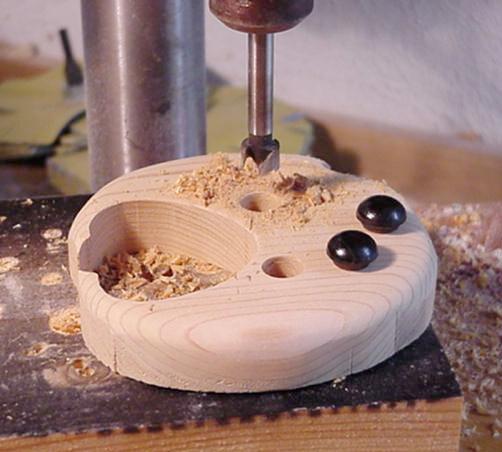
The eyes are furniture buttons painted black. Note the Forstner drill bit.

Edge-glue all the remaining parts together in the same manner we used to install the hands and feet. Use glue sparingly. If the stuff squeezes up between the parts, you’re using way too much.

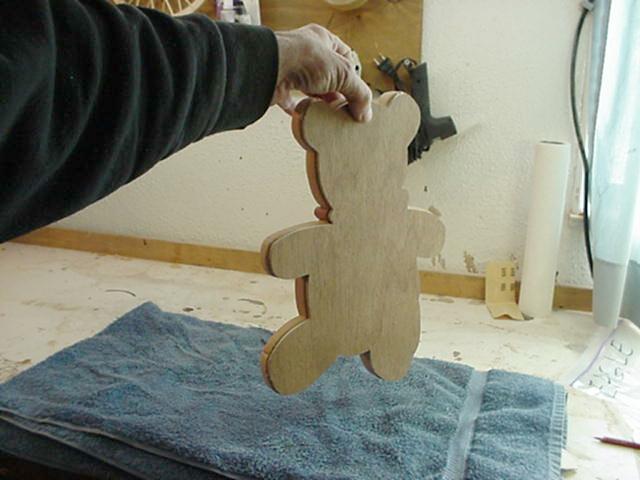
As soon as the glue has dried, we can make the backboard. The usual material is ¼" luan. Place Teddy on the luan and trace a line around him. Saw the backboard carefully, about 1/8" inside the line.

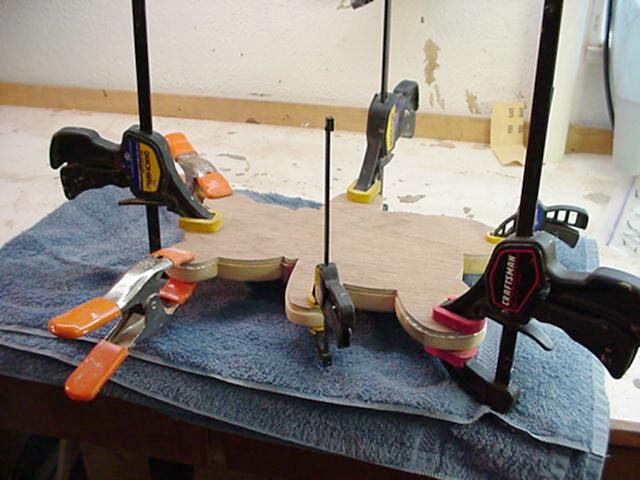
Now Teddy can be glued to the backboard. This is most easily done by placing him face down on a folded bath towel. Use a moderate amount of glue – one or two beads on Teddy’s smaller parts, four or five beads on larger parts. Apply the backboard and center carefully. Press gently but firmly.

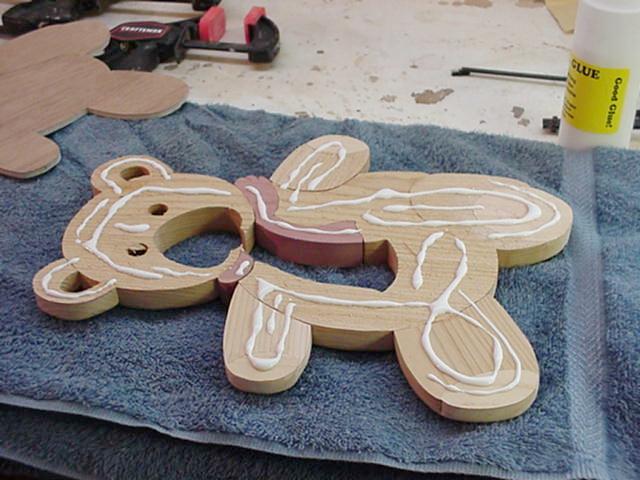
Apply a moderate amount of glue

In a minute or two, the glue will grab. Now you can turn Teddy over. Glue risers in the appropriate holes. Glue the parts they raise on top of them.
Normally, sticky white craft glue needs no clamping. But that might not be the case here. Moisture in the glue can cause luan to warp, opening gaps around the edges of the project. At the very least, keep a close eye on Teddy while the glue is drying. If clamps are needed, apply minimum pressure – just enough to close the gaps. Metal clamps should be padded with softwood.

Clamps may be needed. Pad metal clamps with softwood.

Three more jobs, and Teddy will be ready for finishing.

First is the hanger. There are several choices. One club member uses a router bit to cut a keyhole in the luan – a classy touch indeed. Most of us use metal D-rings or sawtooth hangers. Sawtooths are my choice, as they do not need precise centering.

To center a D-ring hanger, hold Teddy lightly between thumb and forefinger. Find the point where he balances and will hang straight. That’s where the D-ring goes.

Finding the balance point for a D-ring hanger

To attach the hanger, drill small holes and use screws. Alternatives are nails, which require hammering that might dislodge parts, and staples, which look tacky to me.

The next-to-the-last job involves signing and/or labeling your work. The choice is yours. I sell my stuff, so I use a label with my name and phone number. A second label lists the woods used in the project. Again, the choice is yours.

Finally, Teddy needs a thorough cleaning. Blow dust and dirt out of gaps with compressed air. Dust all surfaces with a tack cloth.

One way to finish a backboard

Go to Chapter 6

Return to Chapter 4

Return to home page